A lifetime’s supply of naturally plump, hydrated skin isn’t something you're genetically blessed with or not; it’s something you’ve got to work at every single day.
And that’s thanks to a) our moisture-sapping world and b) the result of ageing. (Unfairly, our skin’s natural hydration levels decline as we age, which can lead to regular encounters with dehydrated, flaky or patchy skin. Layer on daily battles with aircon, weather, stress, lack of sleep and rude baristas, and it’s no wonder you’re feeling desert-dry.)
Help can be found in a simple, three step method—what we like to call the hydration sandwich—that prepares the skin, delivers the right type of hydration and locks it all in place. It’s an easy way to remind yourself to top up hydration levels daily and ensure you’re not letting your products go to waste by allowing the atmosphere to steal your dewiest, moist-est face. (We also love any excuse to talk about sandwiches.)
How to make the perfect hydration sandwich
Step 1: Start with damp skin
Always, always start with damp skin to ensure it’s prepared for the moisture you’re about to flood it with. Why? Skin is easier to penetrate and therefore more receptive to bonus moisture/ingredients like hyaluronic acid when damp. And, hyaluronic acid has a habit of stealing moisture from its closest source (you really don’t want that to be your skin), so a freshly-misted surface is a good distraction.
In sandwich terms, this is your first layer of bread, and that bread must be primed and structurally sound to perform at its peak.
Step 2: Use multi-weight hydration
First, our skin has many layers to it (imagine a cuter, less-teary onion) and second, not all ingredients are capable of penetrating these layers and delivering hydration at every level.
What you need is a hydrator formulated to go deep (like, well-past-the-epidermis deep) to provide multi-level hydration. That’s why Much Plumper Skin is formulated with four different weights of hyaluronic acid, each added to service different layers of the skin thanks to their sizes.
For the sake of our metaphor, this is all the filling—arguably the best part of the sandwich—and we only ever want the best, most delicious (moisturisiest/hard-working) ingredients in our hydration sandwich.
Step 3: Lock in your hydration
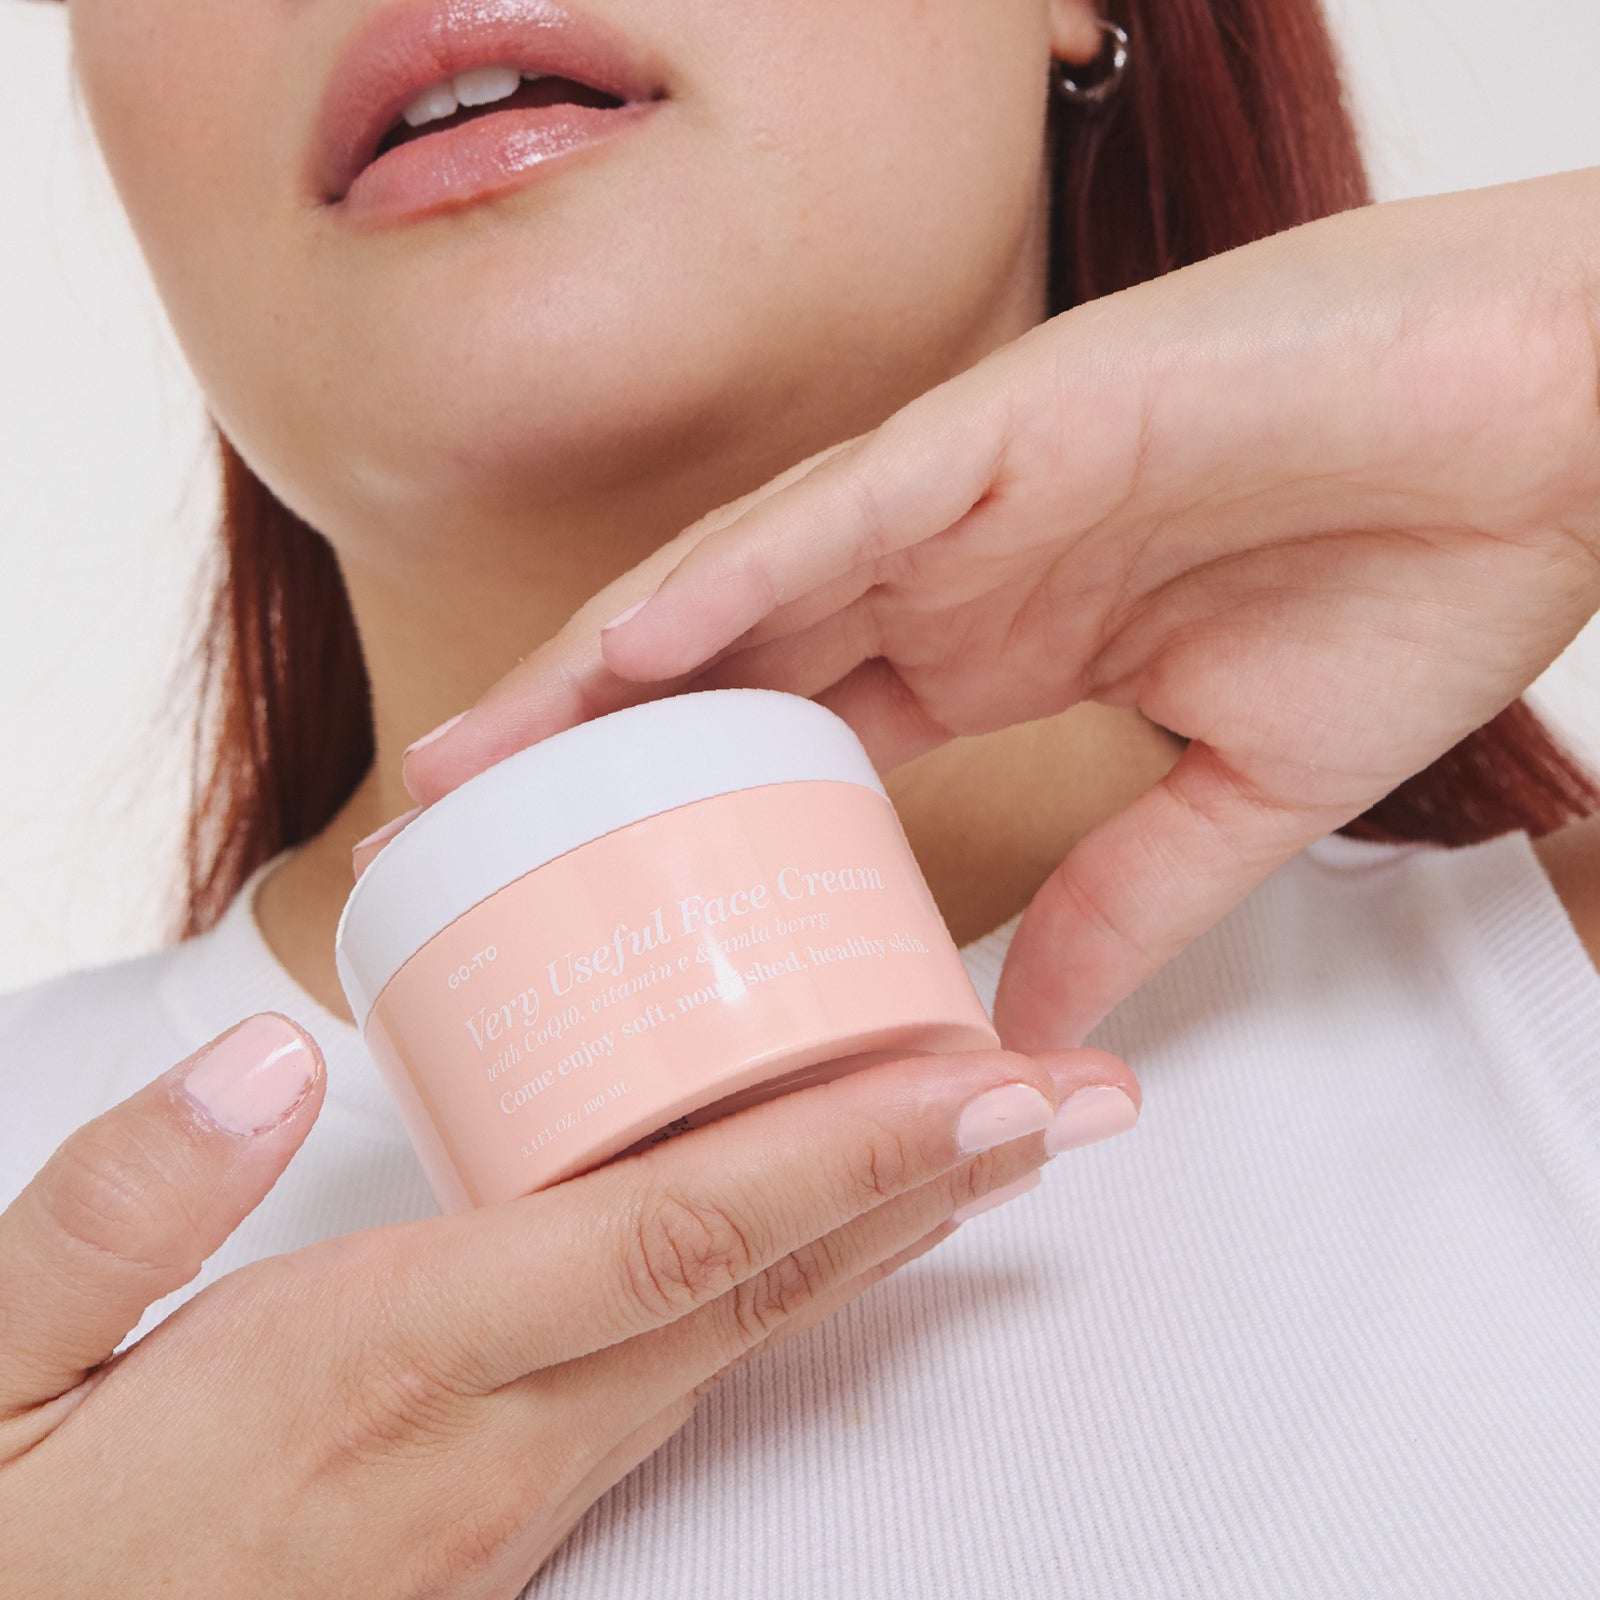
Lastly, you must lock in all your hydration with a lush, occlusive moisturiser that will seal in everything and help prevent trans-epidermal water loss. Think of this as tucking all the ingredients in for the night and making sure they’re sealed in so they can get to work, not buzz off into the atmosphere and take all your moisture with them.
If you don’t tuck in your hydration with that last piece of bread, all you’ve got is an open sandwich and potentially drier skin then when you started. Both of which just won’t cut it.






Comments